Start by shutting down your MacBook, unplugging it, and using short bursts of compressed air around the stuck key. Apple’s own keyboard-cleaning guidance recommends holding the notebook at about a 75-degree angle and spraying from left to right, which is often enough to clear crumbs, lint, or grit [source: Apple]. If the key still sticks, clean the edges with a barely damp microfiber cloth and check for damage before trying anything more aggressive.
TLDR: A stuck MacBook key is usually caused by dust, crumbs, dried liquid, or a bent key mechanism. Try compressed air first, then gentle edge cleaning, then inspect the key if it still feels wrong. For example, if your E key needs two presses after you ate toast over the keyboard, expect to spend about 5 to 10 minutes cleaning before it feels normal again. If the key is cracked, mushy, or not clicking at all, stop and book a repair.
First, figure out what “stuck” means
Not every stuck key has the same cause. That sounds obvious, but it saves time. It is maddening when one key ruins a whole sentence, then AutoCorrect makes it worse.
- The key feels crunchy: likely crumbs, sand, or dust under the cap.
- The key is sticky or slow: often dried sugar, coffee, soda, or oil.
- The key is tilted: the keycap or hinge may be loose or bent.
- The key does nothing: it may be a hardware fault, not just dirt.
- Several keys act weird: liquid damage or keyboard settings may be involved.
Step 1: Shut it down and remove power
Turn off the MacBook before cleaning. Unplug the charger. Remove any USB devices. If the MacBook is warm, let it cool for a few minutes.
This is not just about safety. A powered keyboard can send random inputs while you clean it. One swipe can rename files, send a half-written message, or close a window. Nobody needs that.
Step 2: Use compressed air the right way
Hold the MacBook at an angle, not flat on the desk. Use a can of compressed air with the straw attached. Spray in short bursts around the stuck key.
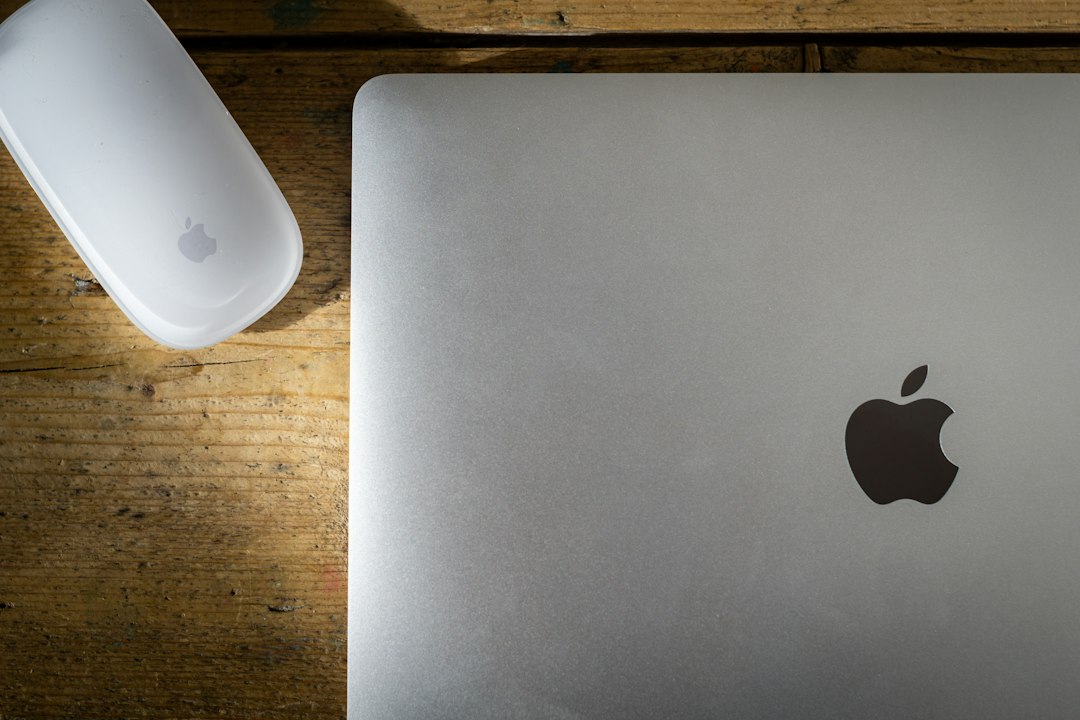
- Hold the MacBook at roughly a 75-degree angle.
- Spray from left to right across the keyboard.
- Rotate the MacBook to the other side.
- Spray again across the same area.
- Turn it once more and repeat.
Do not hold the can upside down. It can spray cold liquid propellant. That can leave residue and may damage parts. Also, do not blast one spot for 20 seconds. Short bursts work better and are less risky.
Step 3: Clean around the key edges
If the key still sticks, clean around it. Use a microfiber cloth. Dampen it very slightly with water or 70% isopropyl alcohol. The cloth should feel barely damp, not wet.
Wipe around the key’s edges. Press the key a few times while wiping. You are trying to loosen grime that has dried around the sides.
For tight gaps, use a soft brush or a clean wooden toothpick. Be gentle. Do not dig under the key like you are opening a paint can. MacBook key mechanisms are small, thin, and easy to break.
Step 4: Avoid the classic bad fixes
Some fixes sound smart until they turn into a bigger repair bill. Skip these:
- No soaking: never pour alcohol, water, or cleaner into the keyboard.
- No kitchen vacuum on full power: it can pull off loose keycaps.
- No metal tools: they can scratch the laptop or snap the hinge.
- No hair dryer heat: too much heat can warp plastic parts.
- No repeated hard pressing: it may bend the key mechanism.
Honestly, it feels like the “just pry it off” advice online skips the part where you spend 30 minutes trying to clip a tiny hinge back into place.
Step 5: Should you remove the keycap?
Only consider removing a keycap if you are comfortable with tiny parts and the key is already unusable. Newer MacBook keys can be delicate. Some use scissor switches. Older butterfly keyboards are even more fussy.

If you try it, search for the exact MacBook model first. The removal direction can vary. A safe method on one model can break another. Use a plastic spudger, not a screwdriver.
Once the cap is off, remove visible debris with air or a soft brush. Check the hinge. If it is cracked or missing a clip, cleaning will not fix it. The keycap may need replacement.
Step 6: Check macOS settings if the key is not physically stuck
If the key feels normal but repeats letters, misses presses, or acts delayed, check your settings.
- Open System Settings.
- Go to Accessibility.
- Check Keyboard settings such as Slow Keys.
- Then check Keyboard repeat speed and delay.
Slow Keys can make a keyboard feel broken because presses do not register right away. Key Repeat settings can also make one press turn into too many letters.
When to stop and get repair help
Stop cleaning and contact Apple or a repair shop if you see liquid damage, if several keys fail, or if the key has no click at all. Also stop if the keycap will not sit flat after cleaning.
Liquid spills are tricky. Coffee, soda, and juice leave sugar behind. Even if the key works today, corrosion can show up later. Expect to waste time on repeat cleaning if sticky liquid got under more than one key.
How to prevent it next time
- Keep drinks away from the keyboard.
- Shake crumbs off the laptop before closing it.
- Use a soft brush once a week if you eat near your desk.
- Wash your hands before long typing sessions.
- Store the MacBook in a sleeve when traveling.
A stuck MacBook key is annoying, but most cases are simple. Start with air. Move to gentle cleaning. Skip force. If the key still feels wrong after that, the problem is probably mechanical, and a proper repair will save you from making it worse.