Imagine a normal printer. It prints a photo of a red apple on flat paper. Now imagine a machine that prints the apple as a real object you can hold. It has curves. It has shadows. It has color. That is the magic idea behind full-color 3D printing.
TLDR: Full-color 3D printing makes solid objects with color built in or added during printing. It works a bit like mixing paints, ink, and tiny layers of material. Different printers use different tricks, such as colored powder, colored resin, or ink sprayed onto white parts. The result is a 3D model that looks much more real, fun, and finished.
What Is 3D Color Printing?
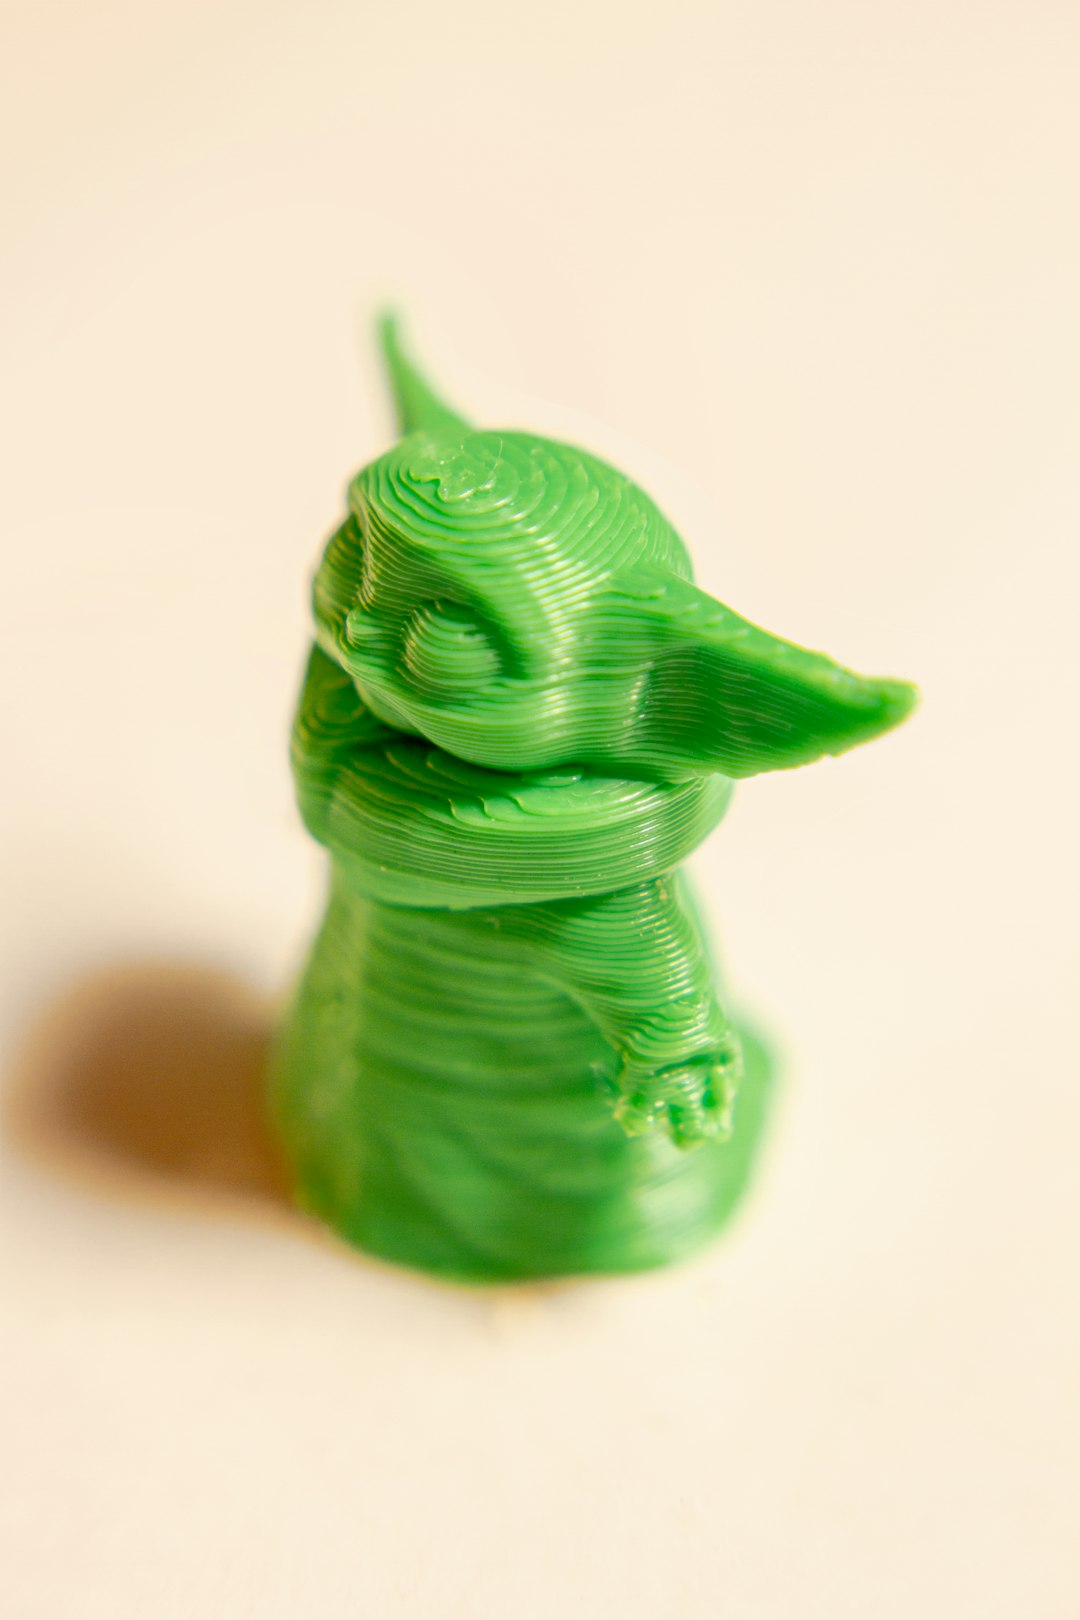
Regular 3D printing builds an object one thin layer at a time. It may use plastic, resin, powder, or other materials. Many basic 3D printers print in one color only. A blue mini dragon is blue all over. A white chess piece is white all over.
3D color printing is different. It adds color to the object as it is made. Sometimes the color is inside the material. Sometimes ink is added to the surface. Sometimes several colored materials are mixed together.
The goal is simple. Make a 3D object that looks more like the real thing. A face can have skin tones. A map can show rivers and mountains. A toy can have eyes, stripes, and a tiny smile.
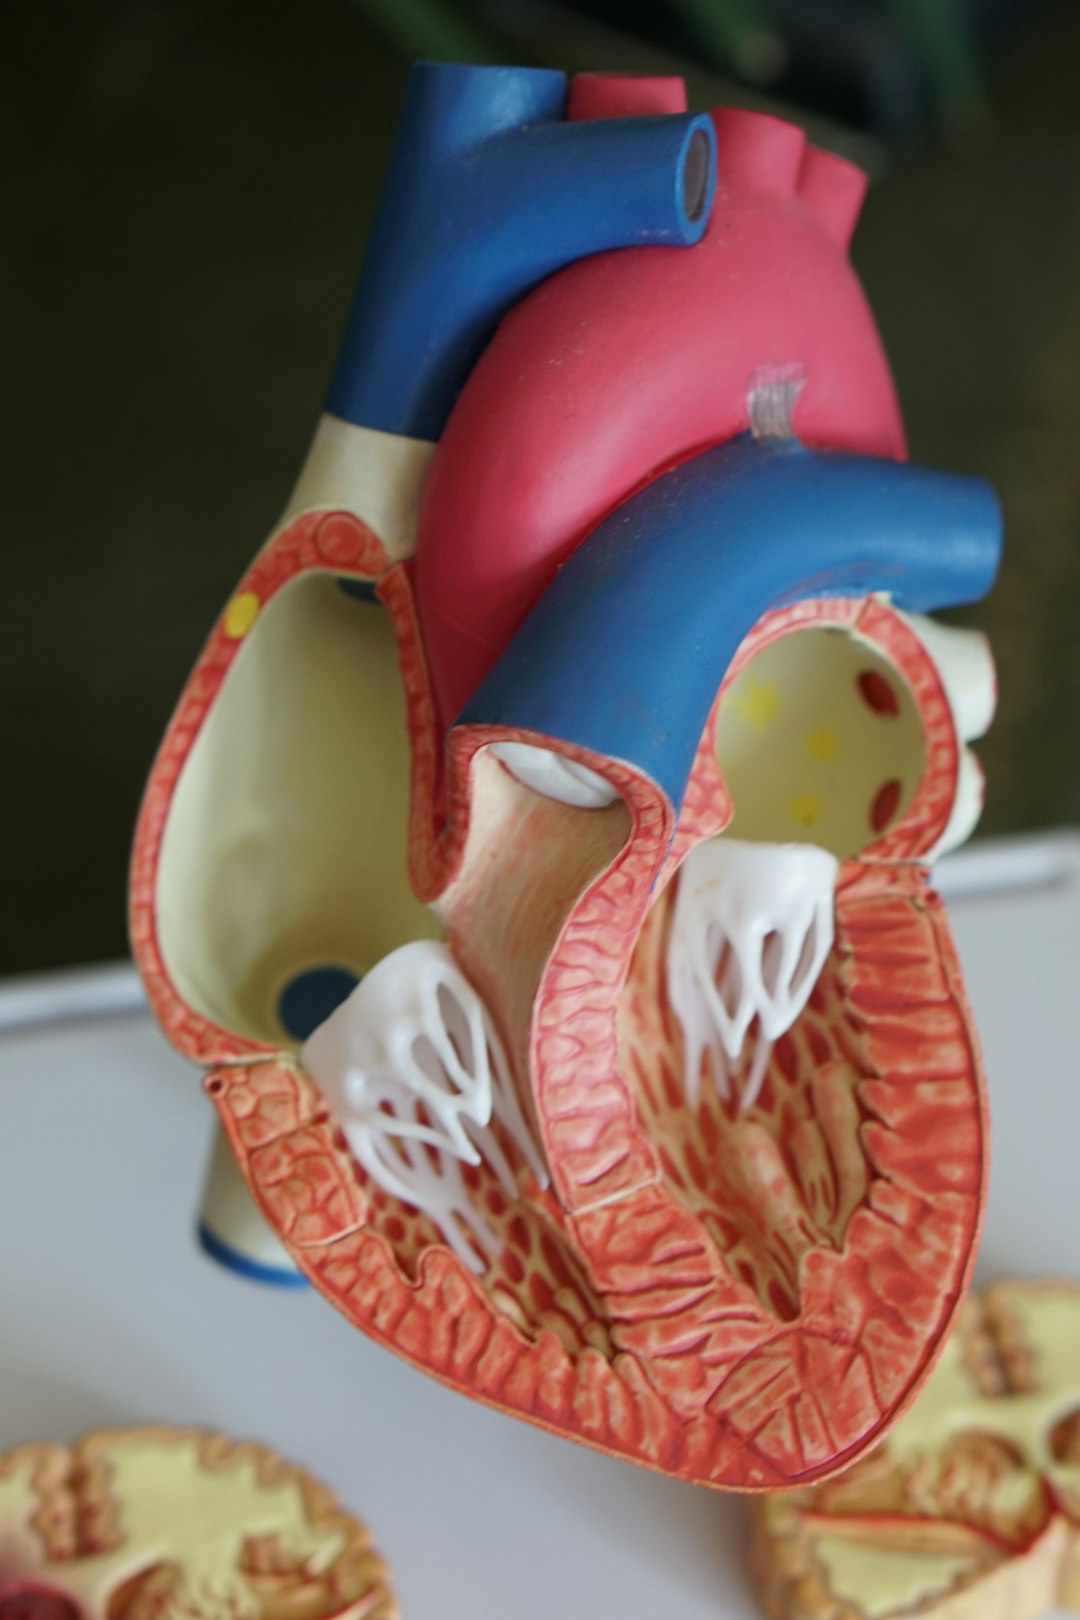
It is not just cool. It is useful too. Doctors use it for body models. Designers use it for product samples. Teachers use it for learning tools. Artists use it to make wild little wonders.
The Basic Idea: Layers, Layers, Layers
All 3D printing starts with a digital model. This is a 3D file made on a computer. Think of it as a video game object that wants to become real.
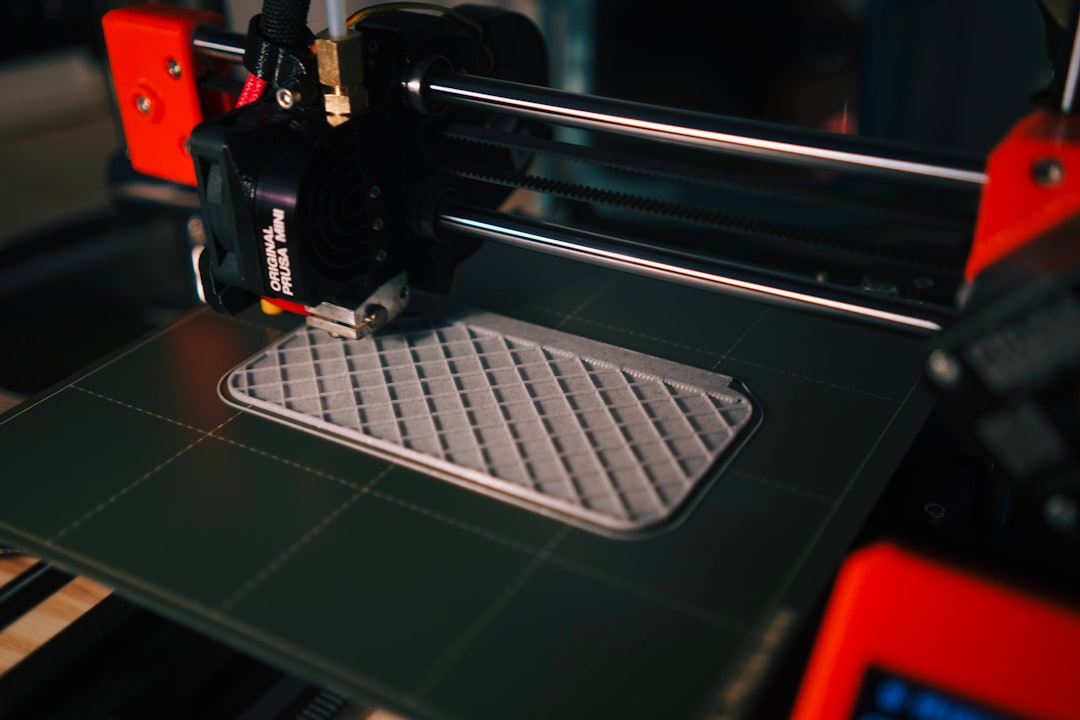
Special software slices the model into many thin layers. These layers are like the pages of a flipbook. Each page is almost flat. But when all pages stack together, they make a shape.
A 3D printer reads those slices. Then it builds them one by one. Bottom to top. Slowly. Carefully. Like a tiny robot baker making a cake with hundreds of thin layers.
For color printing, the printer also follows color instructions. It needs to know where to place red, blue, yellow, black, white, and many shades in between.
How Does a Printer Know the Colors?
A 3D color file contains both shape and color. The shape says, “Build a nose here.” The color says, “Make it peach.” The shape says, “Build a shoe here.” The color says, “Make it black with yellow laces.”
Some common file types can store color. These include formats like VRML, OBJ, and 3MF. You do not need to memorize them. Just know this. A full-color printer needs a file that carries color data.
The printer then translates color data into machine actions. It may spray ink. It may mix materials. It may choose a colored filament. It may bind colored powder.
It is like telling a very patient robot, “Put green here. Put purple there. Do this 5,000 times. Please do not get bored.”
The Main Types of Full-Color 3D Printing
Not all color 3D printers work the same way. In fact, they can be very different. Some use powder. Some use liquid resin. Some use plastic strands. Some use inkjet technology, like an office printer with superpowers.
Here are the big ones.
1. Binder Jetting With Colored Powder
This is one of the best-known ways to make full-color 3D prints. The printer spreads a very thin layer of powder. The powder is often white or pale. Then a print head moves over it and sprays a special liquid binder.
The binder acts like glue. It sticks the powder together in the shape of that layer. At the same time, colored ink can be added. Then a new layer of powder is spread on top. The process repeats many times.
At the end, the finished part is buried in loose powder. It looks like a treasure hidden in flour. The extra powder is brushed or blown away. Then the part may be sealed with a coating to make the color brighter and the object stronger.
Good for: mini statues, architectural models, medical models, maps, and colorful prototypes.
Fun fact: Powder printing can make very detailed objects. But the parts may feel a bit like sandstone. They are often not as strong as solid plastic parts.
2. Material Jetting
Material jetting is fancy. It works a bit like an inkjet printer. But instead of spraying ink on paper, it sprays tiny drops of liquid material onto a build tray.
These drops are usually photopolymer resin. That means they harden when hit by special light. The printer places droplets, shines light, and cures them. Then it moves to the next layer.
Some machines can jet several materials at once. They can mix clear, white, black, and colored resins. This creates smooth objects with bright color and nice detail.
It can even make parts with different textures. One area can be hard. Another can be rubbery. One part can be transparent. Another can be solid red.
Good for: product design, realistic prototypes, dental models, medical planning, and display pieces.
Not so fun part: These printers can be expensive. The materials can also cost a lot. But the results can look amazing.
3. Filament Printing With Multiple Colors
This is common in hobby 3D printing. The printer uses plastic filament. Filament is like a long noodle of plastic. It melts and comes out of a hot nozzle.
Basic filament printers use one color at a time. But some printers can use multiple filaments. They may have two nozzles. Or they may switch between different spools. Some systems cut and feed different colors into one nozzle.
This can create colorful parts. But there is a catch. It is not always true full color. It is often more like printing with a box of crayons. You can choose many colors, but smooth photo-style shading is harder.
Still, it is great for signs, toys, logos, ornaments, and character models.
Good for: bold color designs, simple graphics, nameplates, toys, and home projects.
Best part: It is more affordable than many full-color systems.
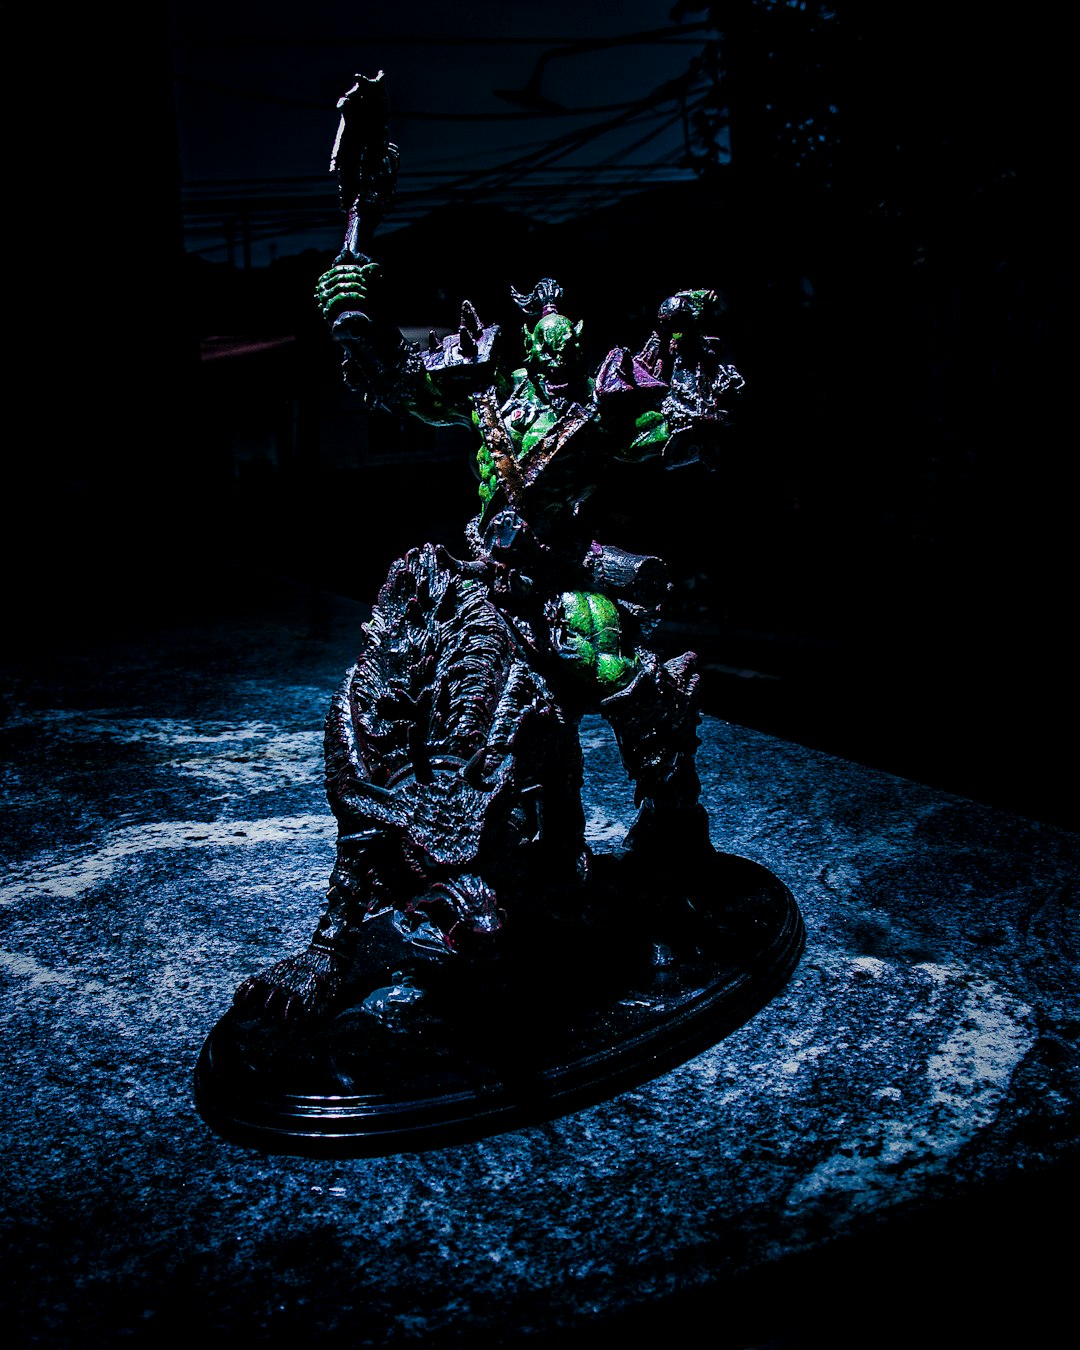
4. Resin Printing With Painted or Printed Color
Some resin printers make very detailed parts, but usually in one color. After printing, the model can be painted by hand. That is not color printing during the build, but it can look fantastic.
Other advanced resin methods can add color in special ways. They may use colored resins, projection systems, or ink layers. These are less common, but the technology is growing fast.
Good for: miniatures, jewelry samples, collectibles, and small detailed items.
How Are Colors Mixed?
Color mixing in 3D printing is a bit like color mixing in regular printing. Many systems use basic color sets. You may know them from ink cartridges.
- Cyan is a bright blue-green color.
- Magenta is a strong pink-purple color.
- Yellow is, well, yellow.
- Black adds depth and shadows.
- White helps make lighter shades and solid bases.
By mixing tiny amounts of these colors, a printer can create many shades. A little yellow plus a little magenta can make orange. Cyan plus yellow can make green. Add black and you get darker tones.
But colors in 3D printing can be tricky. A screen glows with light. A printed part reflects light. So the colors may not look exactly the same as they do on your monitor.
Also, 3D objects have curves. Light hits each curve differently. That can make color look darker or brighter depending on the angle. This is why a printed face may need careful color settings to look natural.
Surface Color vs. Color All the Way Through
Here is a key idea. In some full-color prints, color is mostly on the surface. In other prints, color can go deeper into the part.
Surface color means the outside is colored, but the inside may be white or plain. If the part chips, you might see the base material underneath.
Full material color means the colored material itself is used to build the part. This can be more durable, but is often harder to do with photo-like color.
Think of a chocolate candy shell. If the color is only on the shell, the inside may be different. But if the whole candy is colored, the color is everywhere. 3D printing works in a similar way.
What Happens After Printing?
A full-color 3D print is not always ready right away. Many parts need post-processing. That is just a fancy way to say, “We still have some finishing work.”
Post-processing can include:
- Cleaning loose powder, resin, or support material.
- Curing the part with light or heat so it becomes stronger.
- Sealing the surface to protect the color.
- Sanding rough areas to make them smoother.
- Coating the object with gloss or matte finish.
Powder color prints often need sealing. This makes them stronger and richer in color. Resin prints may need washing and UV curing. Filament prints may need support removal and cleanup.
This finishing stage can make a huge difference. A dull print can become bright. A fragile part can become stronger. A rough model can become display-ready.
Why Use Full-Color 3D Printing?
Color adds meaning. It is not just decoration. It can explain, guide, and delight.
For example, a doctor can print a heart model. Red can show arteries. Blue can show veins. Yellow can show a problem area. That is easier to understand than a plain gray lump.
An architect can print a building model. Green can show parks. Blue can show water. Gray can show roads. The client sees the plan faster.
A toy designer can print a character. The face, outfit, and buttons can be ready in one print. No long painting session required.
Color can make a prototype feel real. It helps people say, “Yes, this is the one,” or “No, make the handle green.” That saves time.
What Are the Limits?
Full-color 3D printing is amazing. But it is not perfect. Not yet.
- Colors may vary. What you see on screen may not match the printed object exactly.
- Parts may be weaker. Some full-color powder prints are better for display than heavy use.
- Cost can be high. Advanced color printers and materials can be pricey.
- Texture matters. A rough surface can make color look less sharp.
- Small details can blur. Tiny text or tiny patterns may not print perfectly.
Also, some printers need support material. Supports hold up overhanging parts during printing. Afterward, they must be removed. This can affect the surface and color in hard-to-reach spots.
So yes, the technology is powerful. But you still need good design, good settings, and the right printer for the job.
What Can You Make?
The fun list is long. Very long. Full-color 3D printing can make objects that feel like they jumped out of a screen.
- Mini people and custom figurines.
- Video game characters.
- Movie props and collectibles.
- Medical and dental models.
- Colorful maps and landscapes.
- Product prototypes.
- Packaging mockups.
- Museum replicas.
- Educational models for classrooms.
- Art pieces that look impossible.
One of the coolest uses is scanning a person, pet, or object. Then the scan becomes a full-color print. Yes, you can have a tiny statue of yourself. Yes, it may be weird. Yes, it may also be awesome.
How to Prepare a Model for Color Printing
A good print starts with a good file. The model should be clean. That means no broken surfaces, strange holes, or floating pieces. The colors should be assigned clearly.
If the printer uses textures, the texture image should be linked correctly. A texture is like wrapping paper for a 3D model. It gives the surface its detailed look.
Here are simple tips:
- Use strong contrast. Very similar colors may blend together.
- Avoid tiny text. It may become fuzzy.
- Check wall thickness. Thin parts can break.
- Use the right file type. Make sure it supports color.
- Preview the model. Look for missing textures or odd colors.
If you are sending the file to a printing service, check their rules. Each printer has its own material limits and color options.
Is Full-Color 3D Printing Like Painting?
Sort of. But not exactly.
Painting happens after the object exists. Full-color 3D printing adds color during the making process. This can save time. It can also create patterns that would be hard to paint by hand.
But painting still has advantages. A skilled painter can add tiny highlights, weathering, and artistic effects. So many artists use both methods. They print a colored base, then add hand details.
That is a great combo. Robot does the big work. Human adds sparkle.
The Future of Color 3D Printing
The future looks bright. Literally.
Printers are getting faster. Materials are getting stronger. Color systems are getting more accurate. One day, full-color 3D printing may become as normal as printing a photo.
We may see better food printing, fashion printing, and custom medical devices. Shoes could be printed in your exact size and favorite colors. Learning models could be printed for every classroom. Replacement parts could include color labels and instructions built into the surface.
Imagine ordering a custom action figure in the morning and holding it that afternoon. Imagine museums printing touchable copies of rare artifacts. Imagine students printing full-color planets, cells, fossils, and machines.
That is not science fiction anymore. It is already starting.
Final Thought
Full-color 3D printing is a mix of art, science, and tiny layers. It takes a digital shape and gives it color, depth, and personality. It can make models easier to understand and more fun to hold.
The idea is simple. Build the object layer by layer. Add color in the right places. Finish it with care. Then enjoy the moment when a flat idea becomes a colorful thing in your hand.
It is part printer, part sculptor, part paintbrush, and part magic trick. And the best part? We are still near the beginning.