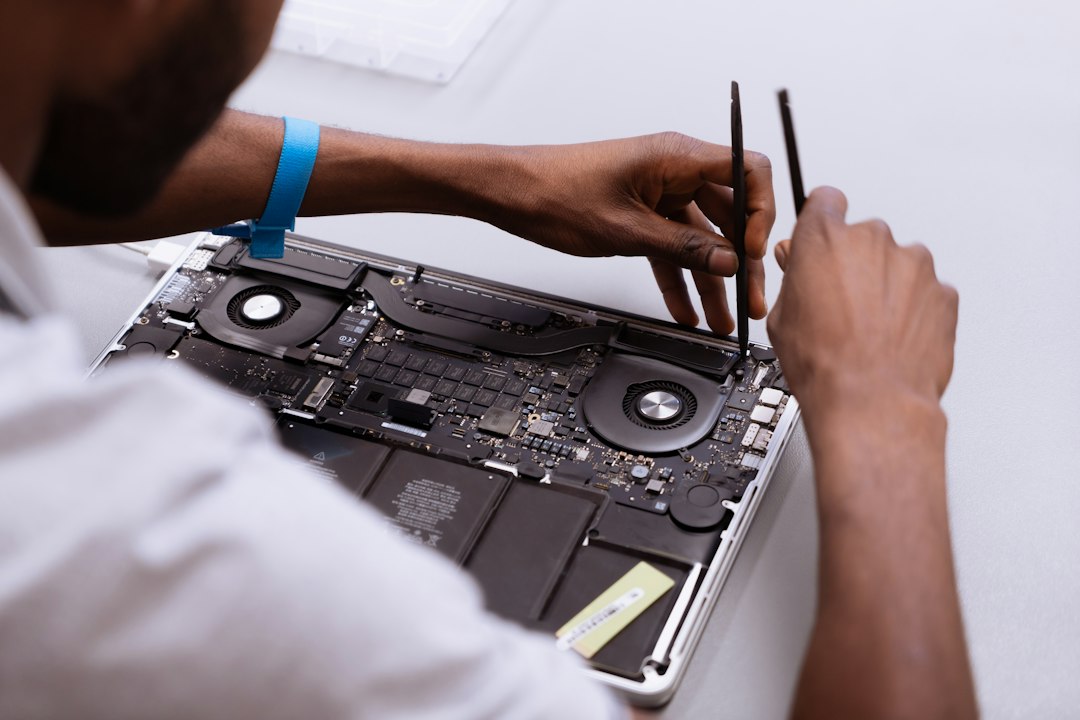
The real fix for an internally cracked MacBook screen is screen replacement. A reset, update, or magic keyboard combo will not heal broken glass layers or a damaged LCD panel. Apple says Mac repair costs depend on the model and the type of damage, and a technician may need to inspect it first [source: Apple].
TLDR: If your MacBook screen has black blobs, rainbow lines, flickering blocks, or “ink spots,” the display panel is likely cracked inside. Back up your files, stop pressing the screen, and book a repair. For example, if 30% of the screen is black but the Mac still works on an external monitor, your logic board is probably fine. The fastest fix is replacing the full display assembly.
First, check if it is really an internal crack
An internal crack is sneaky. The outer glass may look fine. No dent. No scratch. No dramatic movie moment. Yet the screen looks like it got attacked by electric spaghetti.
Common signs include:
- Black spots that look like spilled ink.
- Rainbow lines across the screen.
- Flickering when you move the lid.
- White patches or bright glowing areas.
- Dead zones where nothing appears.
- A clean outer screen with chaos underneath.
Here is the annoying part. A software bug can also make your screen act odd. So do two quick tests before you panic-buy parts.
- Restart the Mac.
- Connect it to an external monitor.
- If the external monitor looks normal, the Mac itself is probably okay.
- If both screens look broken, the issue may be the graphics chip or logic board.
Honestly, it feels like the Mac is playing a tiny prank on you. But this test saves time. It can also save money.
What not to do
Do not press the cracked area. Do not “massage” the screen. This is not a sore shoulder.
Also skip these bad ideas:
- Do not use tape to pull the screen back into shape.
- Do not heat it with a hair dryer.
- Do not spray cleaner into the edges.
- Do not close the lid hard to “reset” it.
- Do not keep using it if lines keep spreading.
LCD damage can spread. Pressure can make it worse. Tiny glass layers can shift. Then a small blob becomes a giant swamp monster.
Back up your Mac right now
Before repair, save your stuff. Photos. Work files. Homework. That weird folder named “final final final.” Keep it safe.
Use one of these:
- Time Machine with an external drive.
- iCloud Drive for documents and photos.
- Manual copy to a USB drive.
- AirDrop to another Mac.
If the screen is too broken to use, plug in an external monitor. Add a keyboard and mouse if needed. Boom. Emergency command center.
Your best repair options
You have three main choices. Pick based on budget, warranty, skill, and patience.
Option 1: Apple repair
This is the cleanest route. Apple or an Apple Authorized Service Provider can replace the display assembly. This keeps the repair official. It also reduces the risk of mismatched parts.
It may cost more. That stings. But you get proper testing after the repair. For newer MacBooks, that matters.
Option 2: Independent repair shop
A good local shop can be faster. Some shops offer same-day service. Ask for a quote first.
Before you say yes, ask:
- Do you use original or high-quality parts?
- Is there a warranty on the repair?
- How long will it take?
- Will my data stay untouched?
- Have you repaired this exact MacBook model?
If the shop dodges simple questions, leave. Your MacBook deserves better than a mystery surgery.
Option 3: DIY screen replacement
You can replace the screen yourself. But be warned. This is not like changing batteries in a TV remote.
You need the right tools:
- Pentalobe screwdriver.
- Torx screwdrivers.
- Plastic spudger.
- Suction tool.
- Anti-static wrist strap.
- Correct replacement display assembly.
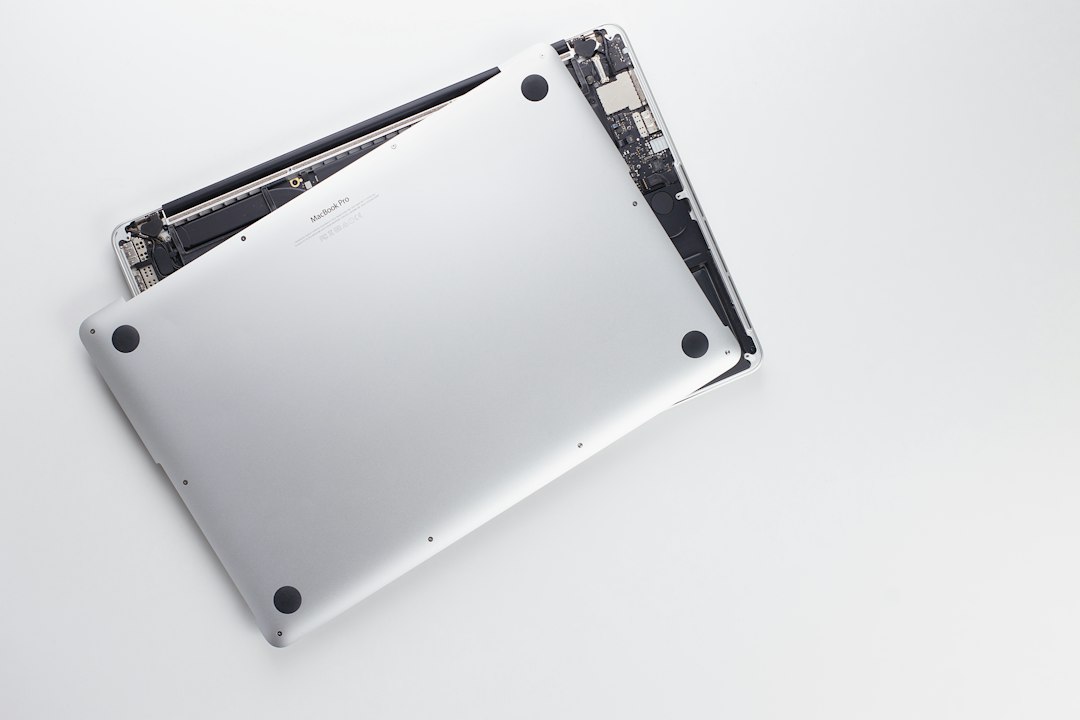
DIY can save money. It can also turn one problem into three. Expect tiny screws. Expect fragile cables. Expect at least one moment where you whisper, “Why did I start this?”
Basic DIY repair flow
This is the simple version. Always follow a guide for your exact model.
- Shut down the MacBook.
- Unplug everything.
- Remove the bottom case.
- Disconnect the battery first.
- Disconnect display cables with care.
- Remove hinge screws.
- Lift off the damaged screen assembly.
- Install the new display assembly.
- Reconnect the battery.
- Test before closing the case fully.
If the screen stays black after replacement, stop. Check the battery cable. Check display connectors. Do not force anything. Forced cables are tiny expensive tragedies.
How much will it cost?
Prices vary a lot. Model year matters. Screen size matters. AppleCare status matters. So does part quality.
As a rough real-world range, independent repairs can be a few hundred dollars. Newer Retina and Liquid Retina displays often cost more. Apple repair can also cost more if there is extra damage.
If the MacBook is old, compare repair cost with resale value. A $500 repair on a $450 laptop feels painful. A $500 repair on a newer $1,800 MacBook may make sense.
How to stop it from happening again
The usual cause is pressure. A tiny object near the keyboard can crack the screen when you close the lid. One grain of something hard can ruin your week.
Try these habits:
- Keep pens away from the keyboard.
- Do not leave earbuds on the palm rest.
- Use a padded laptop sleeve.
- Do not stack heavy books on the MacBook.
- Clean the keyboard before closing the lid.
- Open the lid from the center, not the corner.

The simple answer
An internally cracked MacBook screen is not something you patch. You replace the display. Test with an external monitor first. Back up your files. Then choose Apple, a trusted repair shop, or a careful DIY job.
Do that, and your MacBook can go from haunted rainbow mess to normal screen again. Nice.