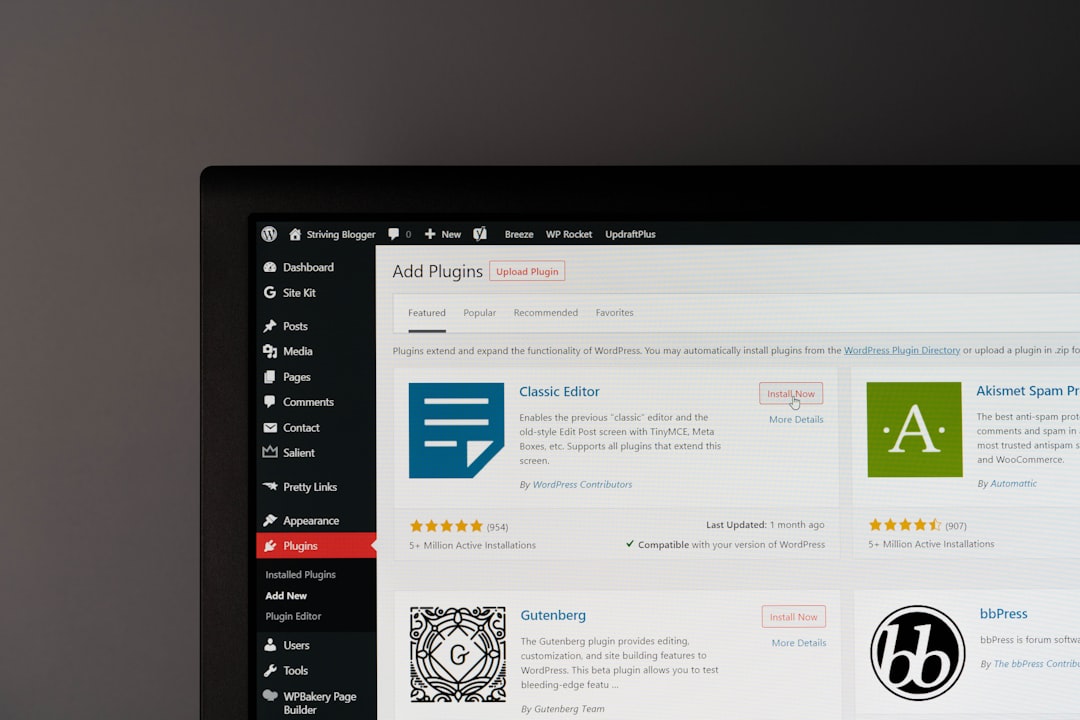
Migrating a WordPress site to a new host can feel like moving a busy shop across town while customers are still walking through the door. The good news is that with the right sequence, you can transfer files, copy the database, test everything, and switch traffic with little to no visible interruption. The key is to prepare the new hosting environment first, then update DNS only after you know the site works.
TLDR: To migrate a WordPress site without downtime, copy your site to the new host, test it using a temporary URL or hosts file, then update DNS when everything is ready. For example, if your current site gets 5,000 visits per day, even a two-hour outage could affect hundreds of users, so testing before switching is critical. Keep the old hosting active for at least 48–72 hours after migration to catch visitors whose DNS records update slowly.
Why WordPress Migrations Cause Downtime
Downtime usually happens when a site owner changes DNS too early, uploads incomplete files, imports a broken database, or forgets to update configuration settings. WordPress depends on several moving parts: the site files, the database, the domain settings, SSL certificates, plugins, themes, and server configuration.
If any one of these is missing or misconfigured, visitors may see errors such as “Error establishing a database connection”, blank pages, broken layouts, or security warnings. A no-downtime migration avoids this by building the new version privately before sending real users to it.
Step 1: Choose and Prepare the New Hosting Account
Before moving anything, make sure the new host is ready for WordPress. Check that it supports the right PHP version, MySQL or MariaDB, HTTPS, cron jobs, sufficient storage, and enough memory for your plugins. If your current site is slow, migration is also a great opportunity to upgrade to better server resources.
- PHP version: Use a supported version compatible with your theme and plugins.
- Database access: Confirm you can create databases and users.
- SSL support: Make sure you can install a certificate before launch.
- Backups: Choose a host that offers automated backups.
- Staging tools: Helpful, but not strictly required.

Step 2: Back Up Your Existing WordPress Site
Never begin a migration without a complete backup. You need two things: your WordPress files and your database. The files include themes, plugins, uploads, and WordPress core files. The database contains posts, pages, comments, users, settings, WooCommerce orders, and plugin data.
You can back up manually using FTP or your hosting file manager, then export the database using phpMyAdmin. Alternatively, use a trusted migration or backup plugin. Regardless of method, download a copy to your computer or cloud storage. Do not rely only on a backup stored inside the hosting account you are leaving.
Step 3: Lower Your DNS TTL Before the Move
DNS controls where your domain points. The TTL, or Time to Live, tells internet providers how long to cache your DNS record. If the TTL is set to 24 hours, some visitors may continue reaching the old server for a full day after you switch.
Ideally, reduce the TTL to something like 300 seconds at least 24 hours before migration. This makes the final DNS change spread faster. Not all domain providers allow very low TTL values, but even reducing it from 86,400 seconds to 3,600 seconds can help.
Step 4: Copy Files to the New Host
Next, upload your WordPress files to the new hosting account. You can do this through FTP, SFTP, SSH, cPanel file manager, or a migration plugin. If you are moving manually, compress the site files into a ZIP archive first, upload the archive, and extract it on the new server. This is usually faster than transferring thousands of files one by one.
Make sure the wp-content folder transfers correctly, especially the uploads directory. Missing media files are one of the most common post-migration problems. Also check file permissions; typical permissions are 755 for folders and 644 for files.
Step 5: Export and Import the Database
Use phpMyAdmin, Adminer, command line tools, or your hosting dashboard to export the database from the old host. Then create a new database and database user on the new host. Import the database into the new database.
After importing, update the wp-config.php file with the new database name, username, password, and host. The relevant lines look like this:
DB_NAME— the new database nameDB_USER— the new database usernameDB_PASSWORD— the new database passwordDB_HOST— oftenlocalhost, but not always
If these values are wrong, WordPress will not connect to the database. This is the moment to be careful, not fast.
Step 6: Test the Site Before Changing DNS
This is the most important step in a no-downtime WordPress migration. You need to preview the new server while the public domain still points to the old host.
There are two common ways to do this:
- Temporary URL: Some hosts provide a preview URL for your site.
- Hosts file method: You edit your computer’s hosts file so your domain points to the new server only for you.
The hosts file method is especially useful because it lets you test the real domain on the new server without affecting visitors. When you type your website address, your computer loads the new host, while everyone else still sees the old site.

During testing, browse your homepage, blog posts, contact forms, checkout pages, login page, search function, and account pages. If you run an online store, place a test order. If you use memberships or bookings, test the full user journey. Also look for mixed content warnings, missing images, broken permalinks, and plugin errors.
Step 7: Install SSL on the New Host
Before changing DNS, install an SSL certificate on the new server. Many hosts offer free certificates through Let’s Encrypt. If SSL is not active when visitors arrive, browsers may show security warnings, which can damage trust immediately.
After installation, confirm that both https://yourdomain.com and https://www.yourdomain.com work as expected, depending on your preferred version. If your site uses redirects, make sure they send visitors to the correct HTTPS address.
Step 8: Put Dynamic Sites Into Maintenance Carefully
For a simple brochure site or blog with occasional comments, you may not need maintenance mode. But for dynamic sites, such as WooCommerce stores, forums, learning platforms, or membership sites, new data can be added during migration. An order placed on the old host after you copied the database may not appear on the new host.
To avoid data loss, use a short content freeze. For example, you might disable checkout for 10–15 minutes, display a friendly maintenance notice only for transactional pages, perform a final database sync, and then switch DNS. This is not the same as full downtime; it is a controlled pause for critical actions.
Step 9: Update DNS Records
Once the new site is fully tested, update your DNS records to point to the new host. Usually this means changing the A record to the new server IP address. In some cases, you may update nameservers instead, especially if the new host will manage DNS.
Changing only the A record is often cleaner because your email records remain untouched. If you change nameservers without copying all DNS records, you could accidentally interrupt email service. Before making changes, note your existing MX, TXT, CNAME, and SPF records.
Step 10: Keep the Old Hosting Account Active
Do not cancel the old hosting account immediately. DNS propagation can take several hours, and in rare cases longer. During this period, some visitors may still reach the old server while others reach the new one.
Keep the old host active for at least 48–72 hours. If you run an eCommerce or membership site, monitor activity closely and consider temporarily preventing changes on the old site after the final sync. This reduces the chance of split data.
Post-Migration Checklist
After the DNS switch, your work is not quite finished. A smooth migration includes verification and cleanup.
- Check the site from different devices and networks.
- Log in to the WordPress admin dashboard.
- Resave permalinks under Settings > Permalinks.
- Test forms, purchases, downloads, and user registration.
- Scan for broken links and missing images.
- Confirm SSL is valid and no mixed content appears.
- Clear all caches, including plugin, server, and CDN caches.
- Update your backup plugin to store backups from the new server.
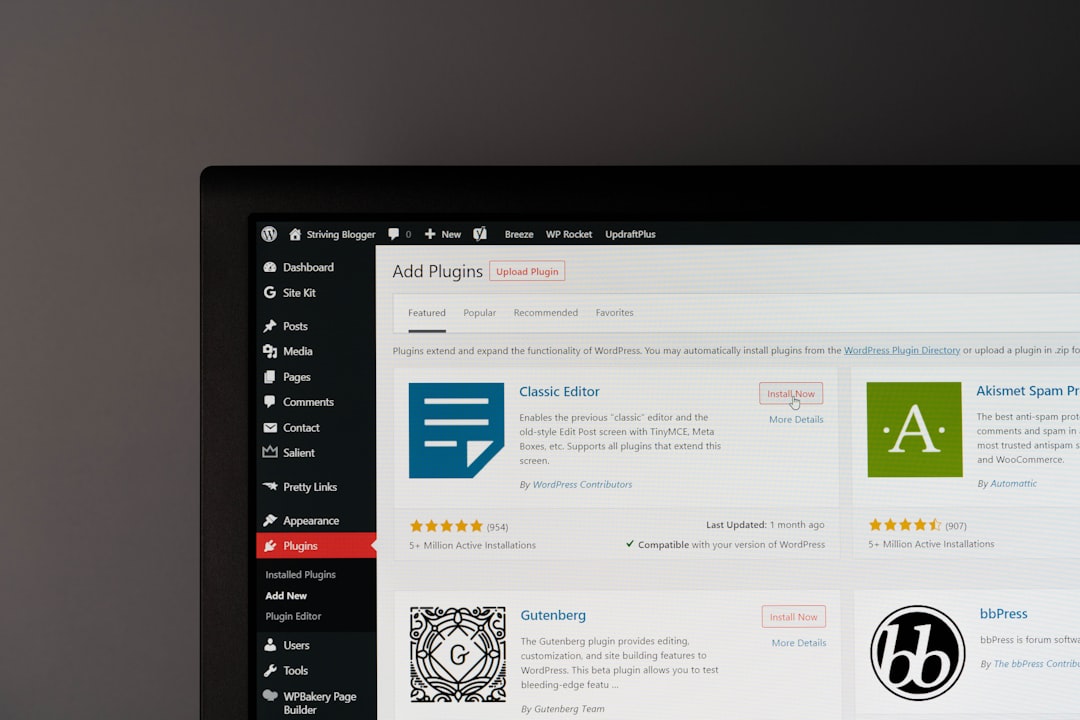
Common Mistakes to Avoid
The biggest mistake is rushing the DNS change. If you point your domain to an untested server, visitors become your testers. Another common issue is forgetting email DNS records when changing nameservers. Site owners also sometimes overlook hardcoded URLs, cache conflicts, or security plugins that block access from the new environment.
It is also wise to pause major updates during migration. Do not update WordPress core, switch themes, replace plugins, and change hosts all at once. If something breaks, you will not know which change caused it.
Final Thoughts
A no-downtime WordPress migration is mostly about timing and testing. Build the new site first, verify every key function, prepare DNS, then switch traffic only when the new host is ready. With backups, a low TTL, SSL in place, and the old server kept online temporarily, you can move your WordPress site confidently while visitors continue browsing without disruption.