Use permanent highlights only after you save a clean master copy, choose a restrained color system, and flatten the annotations into the PDF so they cannot vanish in another viewer. That is the safest way to make key content stand out without turning the page into a neon mess.
TLDR: Permanent PDF highlighting works best when you highlight less, use 2–4 consistent colors, and flatten or “print to PDF” the final file. For example, a legal assistant reviewing a 78-page contract might mark only 12% of the text: yellow for obligations, blue for dates, and pink for risk clauses. This keeps the file useful for review while making sure the marks stay visible when opened in Adobe Acrobat, Preview, Chrome, or a mobile PDF reader.
What “permanent highlight” really means
A normal PDF highlight is usually an annotation. It floats above the text layer. You can move it, delete it, hide it, or lose it when a weak PDF app mishandles the file. A permanent highlight is different. It becomes part of the page content itself.
That matters when you send a file to a client, court, teacher, manager, or printer. You do not want someone opening the document and saying, “I can’t see your markings.” Honestly, it feels like such a small thing until one viewer strips an annotation and costs you 20 minutes of rechecking pages.
There are three common ways to make highlights permanent:
- Flatten annotations: This merges highlights into the page layer.
- Print or export to a new PDF: This can bake visible marks into the file.
- Edit the PDF content directly: This places shapes or color overlays on the actual page.
Start with a clean copy
Before you touch the highlighter tool, duplicate the file. Name the original something obvious, such as Contract Master Clean.pdf. Name the working version Contract Highlighted Review.pdf.
This sounds dull, but it saves real trouble. Permanent edits are annoying to undo. If you flatten the wrong highlight, you may need to rebuild the page or restore from backup. Keep the clean file untouched. Treat the highlighted file as a marked review copy.
A simple file naming system helps:
- ProjectName Clean.pdf for the source file.
- ProjectName Highlighted Draft.pdf for the editable annotated version.
- ProjectName Highlighted Final Flattened.pdf for the permanent version.
Highlight less than you think
The fastest way to ruin readability is to highlight half the page. If everything is urgent, nothing is. Aim to mark only the words, clauses, numbers, or phrases that carry meaning.
For dense work documents, try to keep highlighting below 15% of the visible text. For study notes, you can stretch that to around 20%, but only if you use color with care. A full yellow paragraph may feel useful while you are reading. Later, it becomes visual noise.
Use this rule: if a highlighted section is longer than four lines, ask whether you can highlight only the key sentence or phrase. Your future self will thank you.
Use a small color system
Color is powerful, but too many colors make the document harder to read. Stick to a simple code and apply it every time.
- Yellow: Main ideas, required action, or high-priority text.
- Blue: Dates, deadlines, references, or supporting facts.
- Green: Approved items, useful examples, or positive findings.
- Pink or red: Risks, errors, warnings, or disputed text.
Avoid very dark colors. They can make black text look muddy after printing or flattening. Pale yellow, light blue, soft green, and light pink usually work better. Set opacity around 30% to 50% when the app allows it. Below that, the mark may be too faint. Above that, the text may feel trapped under a plastic sheet.
Choose the right tool for the job
Most PDF editors can highlight text, but permanent output varies. Some tools flatten cleanly. Some create odd boxes. Some add highlights that look fine on screen but print badly. It drives me crazy that a file can look perfect in one app and then show jagged blocks in another.
For professional files, use a PDF editor that supports annotation flattening, PDF export, or prepress output. Adobe Acrobat, PDF-XChange Editor, Foxit PDF Editor, Nitro PDF, and several Mac PDF tools can do this. Browser-based editors may work for quick files, but test the result before sending anything serious.
After highlighting, open the finished file in at least two viewers. Try one desktop viewer and one browser viewer. If the highlights stay in place and the text remains sharp, you are in good shape.
How to make highlights permanent
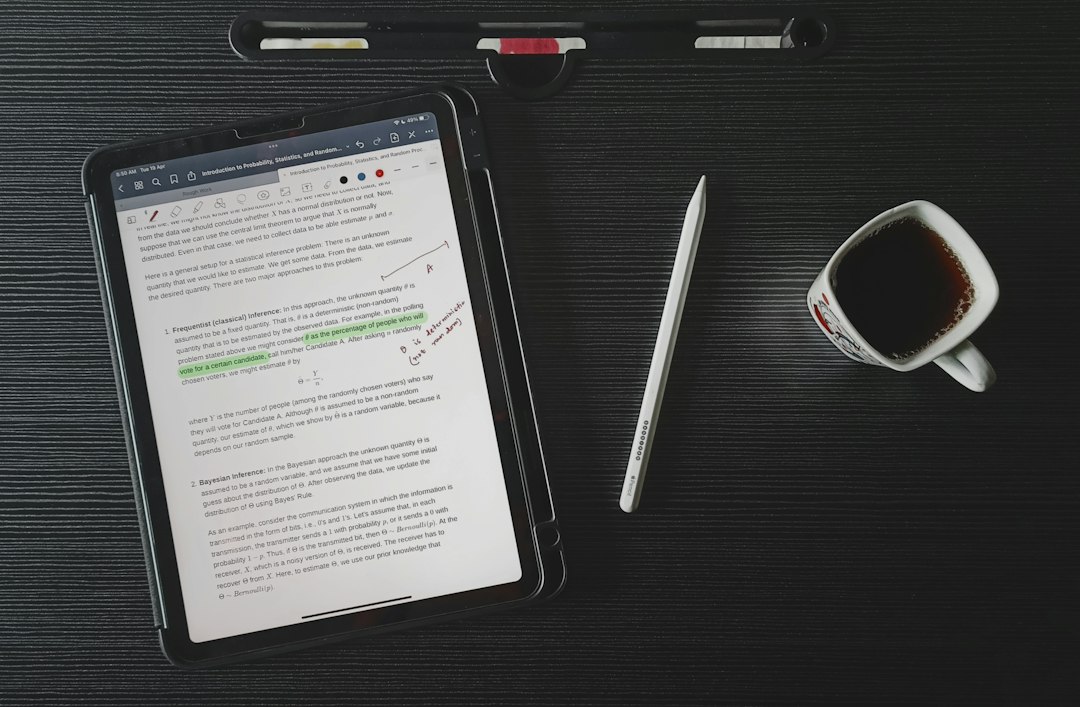
The exact buttons change by app, but the workflow is usually similar.
- Open a duplicate copy of the PDF.
- Add highlights using your color system.
- Save the editable version before flattening.
- Flatten annotations using the editor’s flatten or preflight feature.
- Save as a new file with “Final” or “Flattened” in the name.
- Reopen and test in another PDF viewer.
If your editor has no flatten option, use Print to PDF or Export as PDF. This often locks the visible highlights into the page. The catch is that it may also affect forms, links, bookmarks, or searchable text. Test before relying on it.
Keep the document accessible
Permanent highlighting should not punish readers who use screen readers, mobile devices, or black-and-white printouts. Color alone is not enough. Add short comments, labels, or a summary page when the meaning of color matters.
For example, if red means “requires legal review,” state that near the top of the document or in a cover note. If a PDF will be printed, check a grayscale preview. Some light colors disappear on cheap printers. Pink and yellow can look nearly identical in black and white.
Use contrast wisely. The text must remain readable at 100% zoom and at printed size. If readers need to zoom to 175% just to read highlighted lines, the mark is doing damage.
Do not use highlights as redaction
A highlight does not hide text. Even a black rectangle may fail if it is only an annotation. People can copy the text underneath or remove the layer. If you need to remove private data, use a real redaction tool. Then apply the redaction and save a new copy.
This matters for bank details, medical records, student data, client names, trade secrets, and personal addresses. Highlighting says, “Look here.” Redaction says, “This content is gone.” They are not the same thing.
Preserve search and copy functions when possible
The best permanent highlight keeps the text layer alive. That means readers can still search names, copy quotes, and use screen readers. Flattening sometimes preserves this. Printing to PDF sometimes turns pages into images, which can kill search.
After finalizing the file, press Ctrl+F or Command+F and search for a phrase you know appears on a highlighted page. If it works, great. If not, you may need OCR. OCR can restore searchable text, though it may struggle with scans, tiny fonts, or poor contrast.

Use comments for context, not more color
Some points need explanation. Do not solve that with five more highlight shades. Add a comment instead. A short note such as “Check renewal date before signing” is clearer than another color nobody remembers.
For shared teams, create a tiny legend on page one. Keep it simple:
- Yellow: Action required.
- Blue: Date or deadline.
- Pink: Risk or question.
This reduces confusion and speeds review. In a 10-person team, even saving 30 seconds per marked page can add up fast across a 60-page packet.
Final checks before sending
Before you email or upload the PDF, run a quick quality check. Open it. Zoom in. Print one page if the document will be used on paper. Search for text. Try selecting a sentence. Check that pages did not rotate, shrink, or gain weird margins.
Permanent highlighting is not just about making marks stick. It is about helping readers find what matters without fighting the file. Keep a clean original, mark only the useful parts, flatten with care, and test the result. Your PDF will feel polished, stable, and easy to read.