
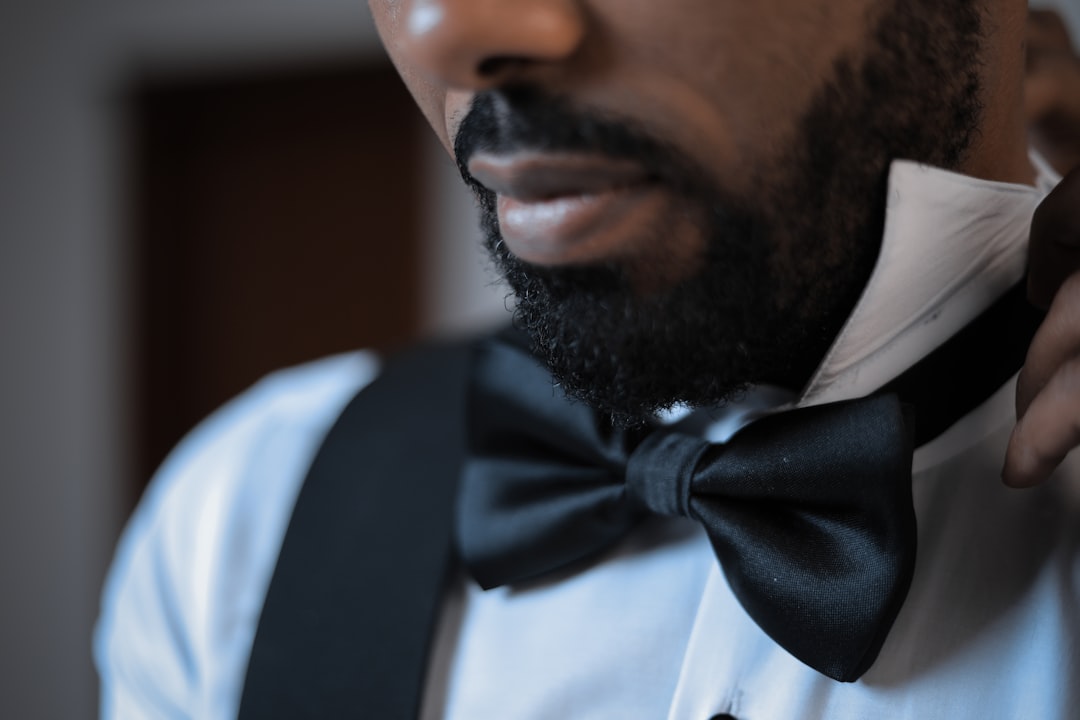
A neatly tied bow tie has a charm that a pre-tied version can never quite match. It looks elegant because it is slightly imperfect: one side may be a touch fuller, one fold may sit a little higher, and that tiny asymmetry signals that it was tied by hand. Whether you are dressing for a wedding, a formal dinner, a black-tie event, or simply want to add personality to a shirt and jacket, learning the classic bow tie method is a skill worth having.
TLDR: To tie a classic bow tie, place the tie around your neck with one end slightly longer than the other, cross the long end over the short end, and form a simple knot. Fold the shorter end into the front bow shape, bring the longer end down over the middle, then push it through the loop behind the bow. Finally, pull the folded ends to tighten and adjust until the bow sits evenly. It may take a few tries, but the process becomes simple once you understand the shape you are building.
Why Learn to Tie a Bow Tie Yourself?
A self-tied bow tie gives your outfit character. Unlike a clip-on or pre-tied bow, it has movement, texture, and a natural look. It suggests care without looking too polished. In fact, many style enthusiasts believe that the slight unevenness of a hand-tied bow tie is exactly what makes it stylish.
There is also a practical reason to learn. Once you can tie one bow tie, you can wear different fabrics, widths, and shapes with confidence. Silk, cotton, velvet, linen, and wool bow ties all behave a little differently, but the classic method stays the same. You only need patience, a mirror, and a few minutes of practice.

Before You Begin: Adjust the Bow Tie
Most bow ties have an adjustable neckband. Before tying, set it to match your collar size. If it is too loose, the finished bow will sag; if it is too tight, it will feel uncomfortable and may be difficult to shape.
Stand in front of a mirror and flip up your collar. Place the bow tie around your neck so that the right side hangs slightly lower than the left side. For clarity, we will call the longer side End A and the shorter side End B. End A should hang about one and a half to two inches lower than End B.
Tip: If you are right-handed, you may find it easier to start with the longer end on your right. If you are left-handed, you can reverse the sides. The method is the same either way.
The Classic Method, Step by Step
Step 1: Cross the Longer End Over the Shorter End
Take End A, the longer side, and cross it over End B, the shorter side. The two ends should meet close to your neck, just under your collar button. This first cross is the foundation of the knot, so keep it snug but not tight.
Think of this step as the same beginning used when tying shoelaces. You are simply creating the first part of a basic knot before forming the bow shape.
Step 2: Bring the Longer End Up and Through
Now bring End A up behind End B and pull it through the neck loop. Let End A rest over your shoulder or lay it upward out of the way for a moment. You should now have a simple knot at your collar, with End B hanging down in front.
This knot matters because it anchors the bow tie. If it is too loose, the bow will droop. If it is too tight, the knot may be hard to adjust later. Aim for firm and comfortable.
Step 3: Shape the Front of the Bow
Take End B, the shorter end, and fold it horizontally at its widest part. This creates the front half of the bow. Hold this folded shape against your neck, centered over the top button of your shirt.
The fold should look like a bow already: one loop on the left and one loop on the right. Pinch the center gently with your thumb and forefinger. This pinched middle will become the narrow center of the finished bow tie.
- Keep the folded end horizontal. If it tilts too much, your final bow may look crooked.
- Pinch the center firmly. This helps create a clean middle knot.
- Do not worry about perfection yet. You will adjust the shape at the end.

Step 4: Drop the Longer End Over the Center
Bring End A down from your shoulder and let it fall straight over the pinched center of the bow you just made. It should hang vertically, dividing the front bow into left and right halves.
This is the moment when the bow tie begins to look confusing, but stay calm. End A is not just hanging there randomly; it will become the back half of the bow. The part hanging down forms the neat center band you see on a finished bow tie.
Step 5: Fold the Longer End Into a Bow Shape
Now take the hanging End A and fold it back on itself at the widest section, just as you did with End B. You are creating another bow shape, but this one will sit behind the front bow.
Hold the folded End A horizontally. You should now have a folded front bow pinched at the center, a vertical middle band, and a second folded bow shape ready to pass through the hidden loop behind the knot.
Step 6: Find the Loop Behind the Front Bow
This is the key step in the classic method. Behind the front bow, near your neck, there is a small loop or opening created by the knot. Use your finger to feel for it. It may not be obvious visually, especially the first time you try.
Once you find the loop, push the folded part of End A through it. Do not push the loose tip through; push the folded section. This is similar to tying a shoelace bow, where one loop passes through the space behind the knot.
Helpful image: Imagine the front bow as a small door and the loop behind it as the doorway. The folded back bow has to slide through that doorway.
Step 7: Pull the Loops to Tighten
At this stage, your bow tie may look messy, lopsided, or unfinished. That is completely normal. You should now see four main parts: two folded loops and two flat tail ends. To tighten the bow, pull gently on the folded loops. To loosen or reshape it, pull the flat ends.
Alternate between the left and right sides. Tug a little on one loop, then the opposite tail, then the other loop. Small adjustments work better than hard pulls. A bow tie is shaped gradually, not forced into place.
How to Adjust the Finished Bow Tie
Once the structure is tied, lower your collar and check the overall look. The bow should sit centered at the collar, and the knot should rest neatly between the points of the collar. The ends do not need to be perfectly symmetrical. In fact, a slightly uneven bow often looks more natural and refined.
Use the following checklist to fine-tune it:
- Check the center. The knot should line up with the center of your shirt placket.
- Balance the width. The bow should generally not extend far beyond the outer edges of your eyes.
- Smooth the fabric. Flatten any twisted sections with your fingers.
- Adjust the loops. Pull the folded loops to tighten; pull the tails to loosen.
- Lower the collar. Make sure the collar sits cleanly over the neckband.
Common Mistakes and Easy Fixes
The bow is too loose. This usually means the first knot was not snug enough or the neckband is too large. Start again and make the initial knot firmer, or adjust the neck size of the bow tie.
One side is much larger than the other. This often happens when the starting lengths are uneven. Begin with the longer end only slightly lower than the shorter end. If the difference is too great, the finished bow will be difficult to balance.
The back loop will not go through. You may be trying to push the tip through instead of the folded section. Keep the longer end folded like a loop and push that loop through the opening behind the front bow.
The bow looks twisted. Untwist the fabric before tightening. Bow ties can rotate during the final step, especially if the fabric is slippery. Silk bow ties, in particular, may need extra smoothing.
The knot feels bulky. Some thick fabrics, such as velvet or heavy wool, create larger knots. In that case, keep your folds clean and avoid over-tightening. A fuller knot can still look elegant if it is centered and controlled.
Choosing the Right Bow Tie for Practice
If you are learning for the first time, choose a medium-width cotton or silk bow tie. Cotton has grip, which makes it easier to control. Very slippery satin may slide around, while very thick fabric may feel awkward. A classic butterfly shape is usually easiest for beginners because the wider ends make the folds more obvious.
Color and pattern can also help. A solid dark bow tie looks formal, but a patterned one may make it easier to see which part is folding where while you practice. Once you master the movement, you can confidently switch to black silk for formal wear or experiment with bolder patterns for festive occasions.
When to Wear a Self-Tied Bow Tie
The classic bow tie is closely associated with black tie events, especially when worn with a tuxedo. However, it is not limited to formal dress. A bow tie can bring personality to a blazer, a crisp white shirt, or even a smart casual outfit. The key is matching the fabric and style to the occasion.
- Black silk: Best for tuxedos, galas, weddings, and formal dinners.
- Cotton or linen: Ideal for daytime events, garden parties, and relaxed celebrations.
- Velvet: Excellent for winter occasions and evening wear with texture.
- Patterned styles: Great for creative offices, parties, and personal expression.
Practice Makes the Bow
The first attempt may take ten minutes and produce something that looks more like a crumpled ribbon than a polished bow tie. That is part of the process. The second attempt will be better, and by the fifth or sixth, your hands will begin to understand the movement.
Practice when you are not under pressure. Do not wait until five minutes before a wedding ceremony or dinner reservation. Try tying it while wearing a regular shirt at home. Once you learn how the fold, loop, and pull work together, the classic method becomes surprisingly quick.
A hand-tied bow tie is more than a dress accessory; it is a small ritual. It asks you to slow down, pay attention, and finish your outfit with intention. Master the classic method, and you will never need to rely on a pre-tied bow again. The result may not be perfectly symmetrical, but that is exactly the point: it will look personal, confident, and unmistakably real.